
The wings have been on for a while, but with temporary bolts. This weekend was finally the time to install the real ones. First concern was that the space in the fuselage center section was too big for the wing …
This was fun. With the ailerons attached, I attached the control rods between the sticks and the various bellcranks, out to the ailerons. Now, we can move the ailerons with the control stick, which is fun.
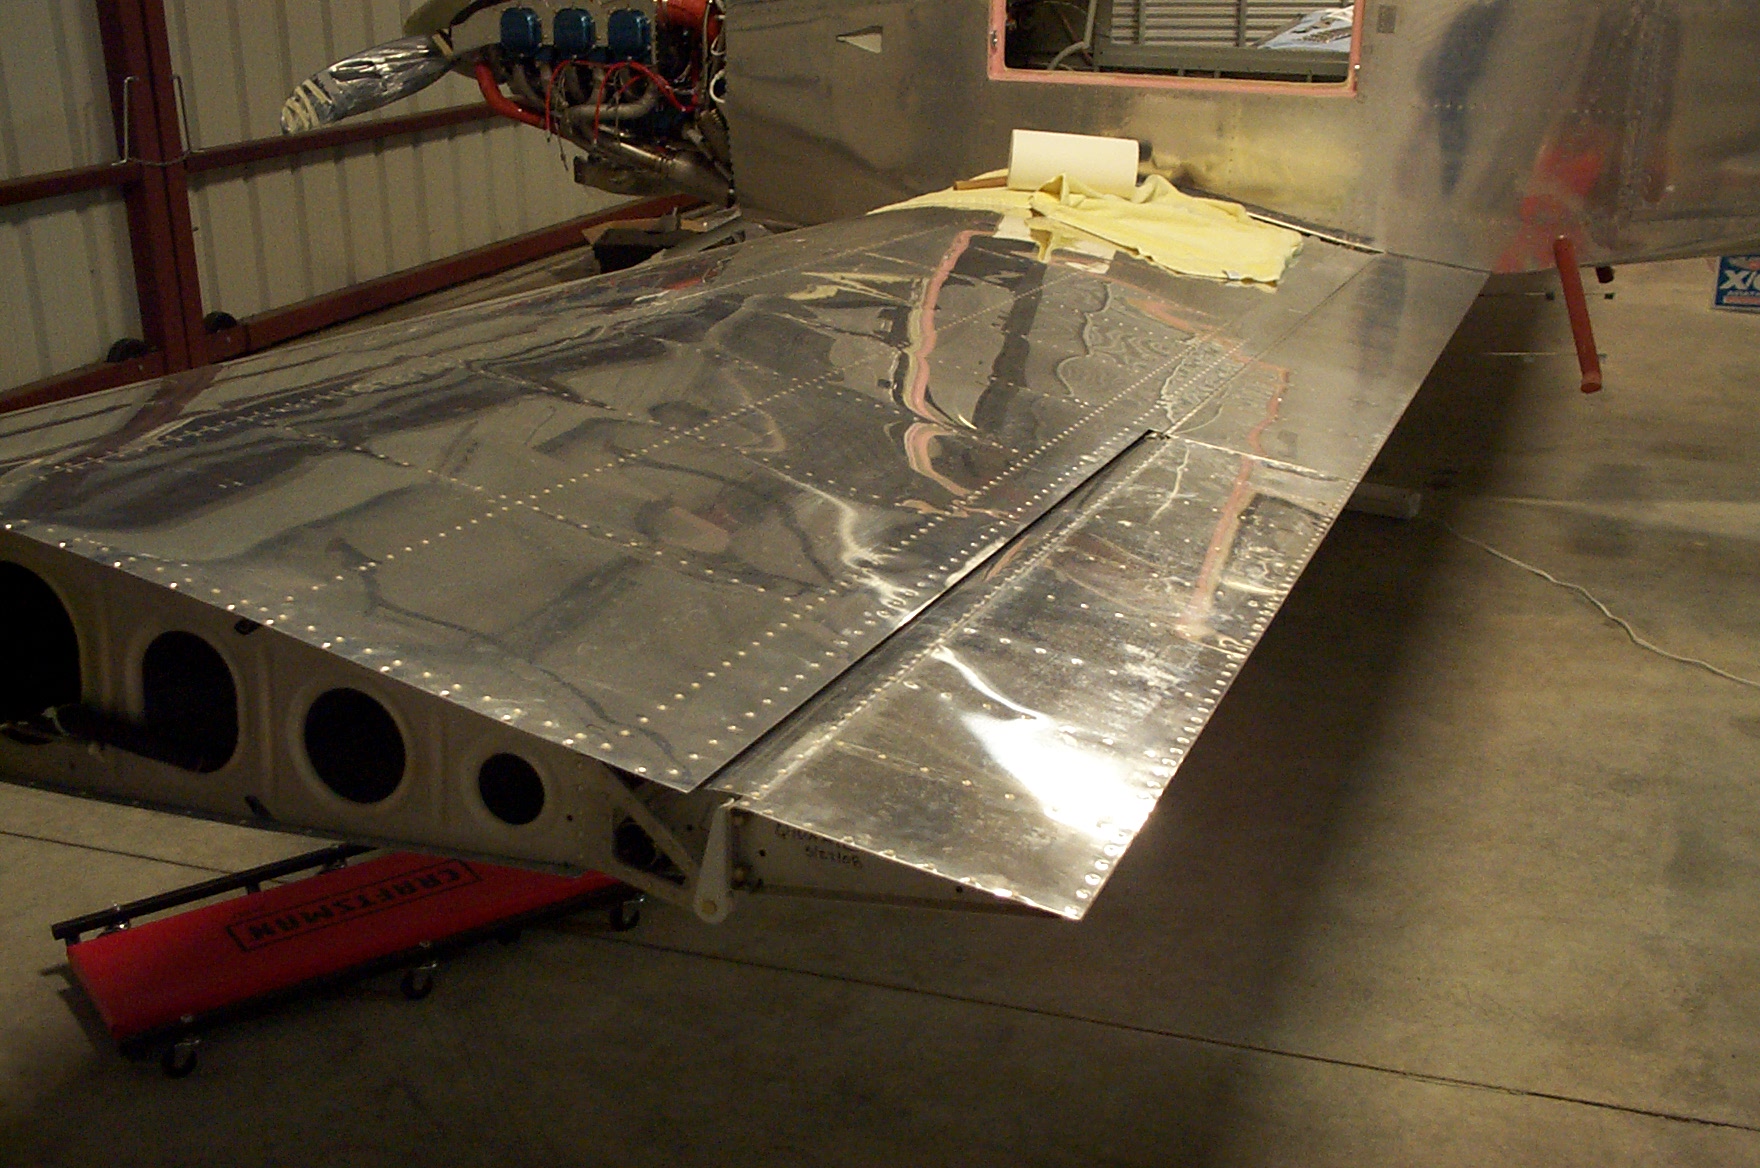
There’s no interference with …
Someone emailed me a question about how I did the front seat air vents, so thought I should describe it here, since it’s not a standard installation. I couldn’t use the plastic pieces from Van’s, because my panel extends about …
Kelly convinced me we should do the door interior before the first flight, so she’s been busy on that. One picture below, though as I write this, she’s actually almost done. More pictures later.
 …
…
With the plane in the hangar now, there are a ton of things we can work on. One of the first things I wanted to do is attach the control surfaces, to figure out what (if any) interference issues we’ll …
With the successful fuselage move the previous weekend, it was time to move everything else. “Everything else” includes the wings, workbenches, tools, tail pieces, and all the other miscellaneous airplane-related stuff in the garage. This meant getting a 24′ U-Haul …
Sure, the front looks nice, but the real accomplishment is all the wires, air lines, etc. behind the panel are now finally secured.
 …
…
Well, the day finally arrived–time to move the fuselage to the airport. We moved the fuselage only this day, plus a few other things we put in the car, since we were driving up there anyway. In a couple weeks, …
I wanted to make sure we had the seat rails installed and seats test fit before we move to the airport. We ran into a snag last weekend when we tried to do this. One of the seat rail supports …